After traveling to 29 countries, I like to think I’ve figured out how to pack a travel backpack. The secret to packing like a pro, is to use packing cubes, only bring what you need, put your heaviest items on the bottom (closest to your back), and then add the lighter stuff on top.
You’ll have better weight distribution and won’t have to dig through your bag as much when you want to grab something.
So whether you’re packing for Europe, going backpacking in Asia, or just want to know how to pack your new travel backpack, this guide has you covered.
Of course, you can want to pack light for traveling, heavy if the climate deems it necessary, or need more gear depending on your trip. This means that you’ll want to invest in some high-quality travel gear.
I recommend packing cubes and a top rated travel backpack. The one I prefer is the 45L Travel Backpack from Peak Design. This setup is the best way to maximize space, keep things organized, secure, and will definitely help create a better travel experience.
Key Takeaways
- Buy packing cubes
- Consider the climate
- Tablets over laptops
- Always pack a positive attitude
- Get a travel specific travel backpack
- Roll your clothes, don’t fold them
- If you must bring extra shoes, stuff them
- Pack light & avoid bringing “just in case” items
- Remember your passport and travel documents
Choosing the Right Travel Backpack
This is a post about packing a travel backpack like a pro afterall. So as I mentioned earlier, you’re going to want to invest in a high-quality one.
Take it from me, I took a crappy one to Iceland and Spain and it sucked. I didn’t even have packing cubes! Since that first international trip back in December 2016, I’ve learned many valuable lessons – one of them being to invest in a good travel backpack.
Consider Backpack Size and Weight
I’m not going to bombard you with which travel backpack is the best. I not an expert in that department (yet).
So instead I’ll recommend qualities in a travel backpack that you should be aware of when choosing yours. The first of which is to consider the size and weight of the backpack.
If you’re traveling in Europe for a month, you probably want a bigger bag. But if you’re traveling to Japan or Thailand for a week, a smaller bag might be a better fit.
I recommend getting a 30-45 liter travel backpack. On the flip side, if you’re going on an outdoors trip that requires additional gear, a 50-70 liter backpack will do the job.
You also want to consider any souvenirs you pick up that you want to bring back. This requires more space, so just keep that in mind. As always, try and pack as light as possible when you can.
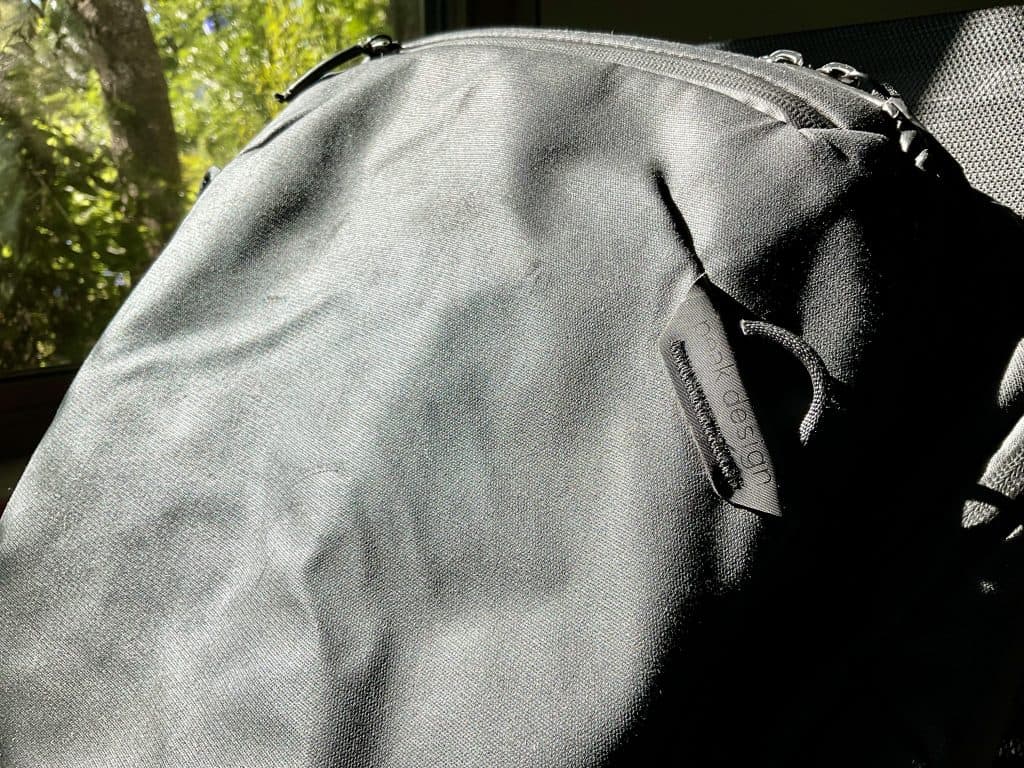
Look for Quality Materials and Features
The first backpack I had was intended for camping. I picked it up at REI on the fly because I needed something quick. It wasn’t weatherproof, had cheap zippers, and the compartments were non-existent.
While the waist and sternum straps were good, in hindsight that backpack was a nightmare.
From my travel adventures, I’ve learned that the right materials and features can make or break your trip. Here are some features and materials you’ll want to look for:
- Weather Resistant: Make sure the backpack can withstand all climates. Chances are you’ll be walking through rain, heat, snow, and more.
- Durable Fabrics: Look for ripstop nylon or polyester. These materials handle rough conditions and keep your gear dry.
- Strong Zippers and Sturdy Seams: Essential for preventing mid-trip disasters.
- Expandable Capacity: An expandable capacity (like 35L to 45L) provides flexibility for different trips.
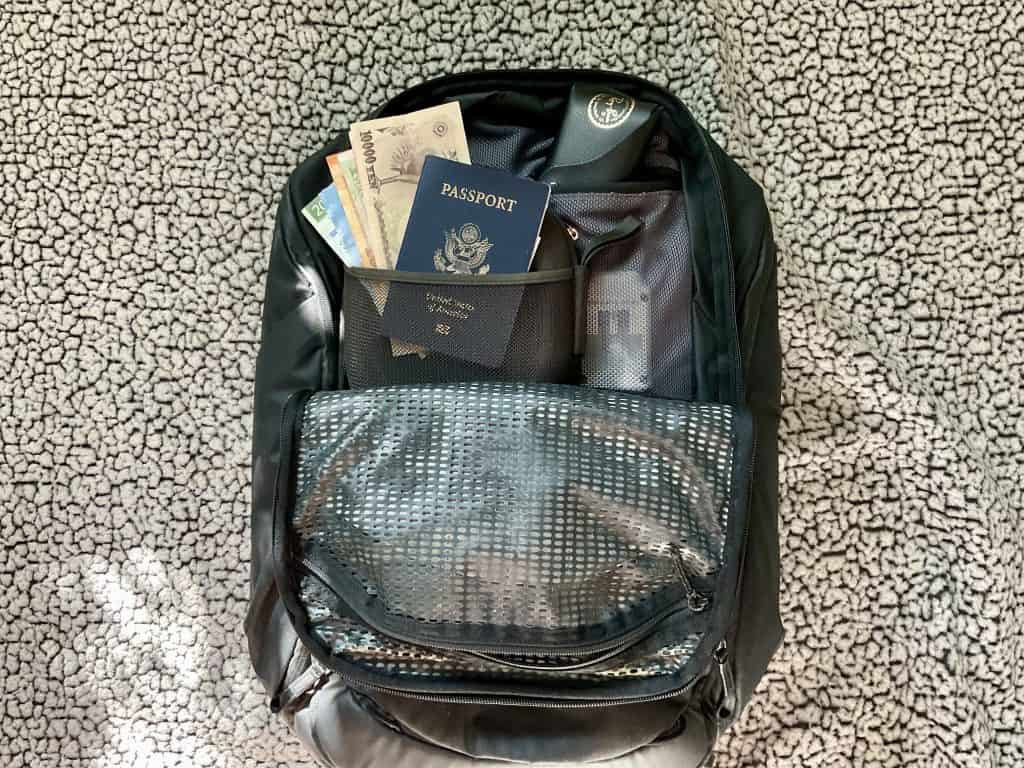
- Quick-Access Pockets: Handy for essentials like keys, glasses, and passports.
- Expandable Side Pockets: Great for carrying water bottles, tripods, and other gear.
- Padded Laptop and Tablet Sleeves: Protect your tech with dedicated compartments.
- Comfort Features: Padded shoulder straps, a hip belt, and a ventilation system make carrying easier, even on long treks.
- Adjustable Straps: Customize the fit for maximum comfort.
- Tuck-Away Options: Versatility for different carrying scenarios.
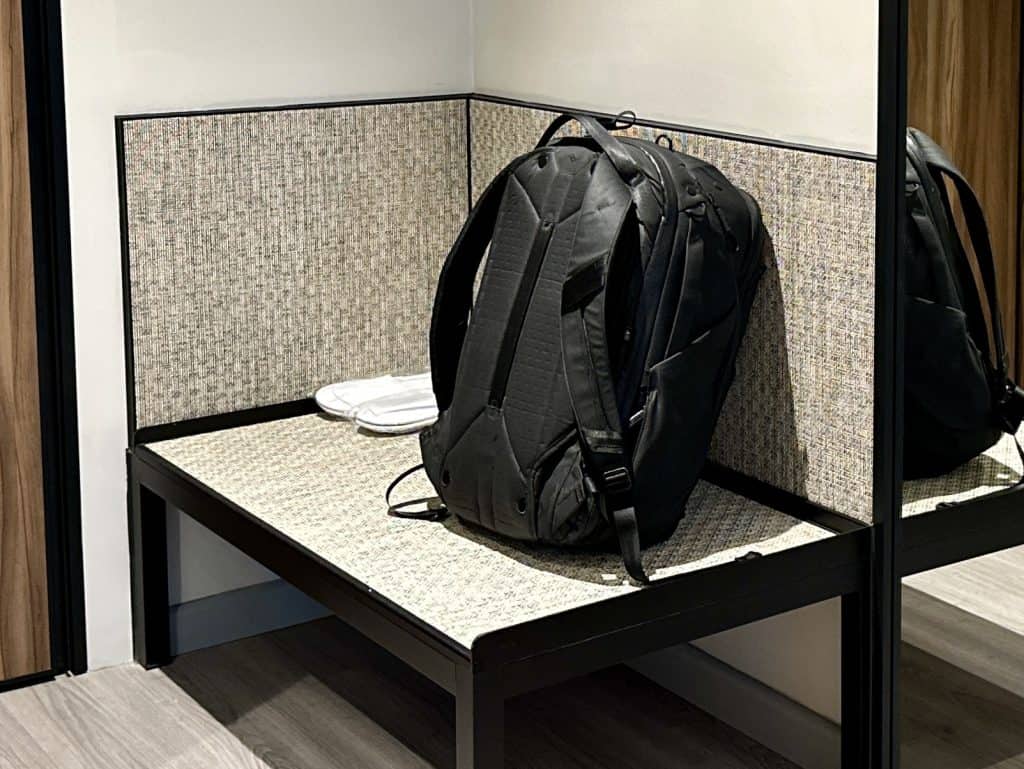
My Peak Design Travel Backpack 45L ticks all of these boxes, making it my top choice.
They’ve also got a lifetime guarantee, so if any part of your Peak Design travel backpack becomes defective, they’ve got you covered.
Invest in a high-quality travel backpack today so you can enjoy your travels tomorrow.
The Art of Packing
Preparation is key! Before you start throwing stuff into your travel backpack, take a mental note or write down the details. What’s the climate going to be like? How long will are you traveling? Are you doing any extra activities that require extra gear? Better to have it and not need it than to need it and not have it!
Organize Your Stuff
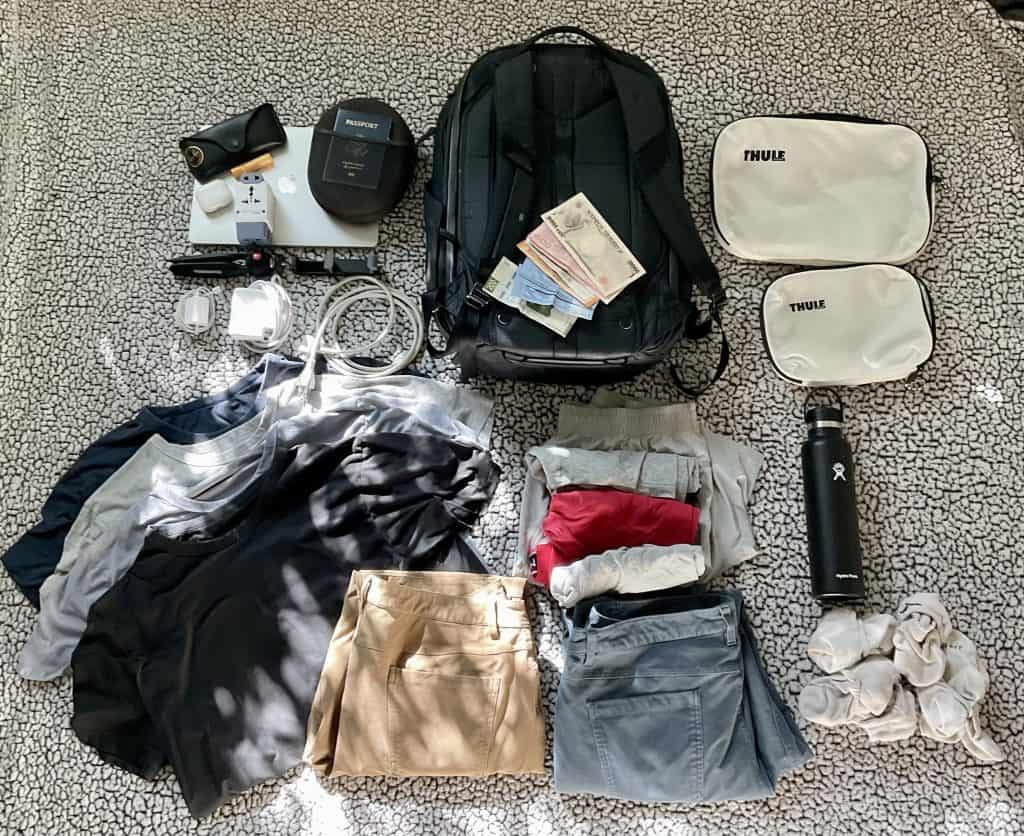
I start by laying everything out into categories: clothes, electronics, toiletries, and any miscellaneous items. Here’s how I lay it all out:
- Clothes: I start with shirts, pants, shorts, underwear, and socks. If I’m heading somewhere cold, I include a jacket. On flight days, I choose comfortable leisure clothes. For winter trips, I wear my Nike Dri-Fit pants and jacket to save space in my bag.
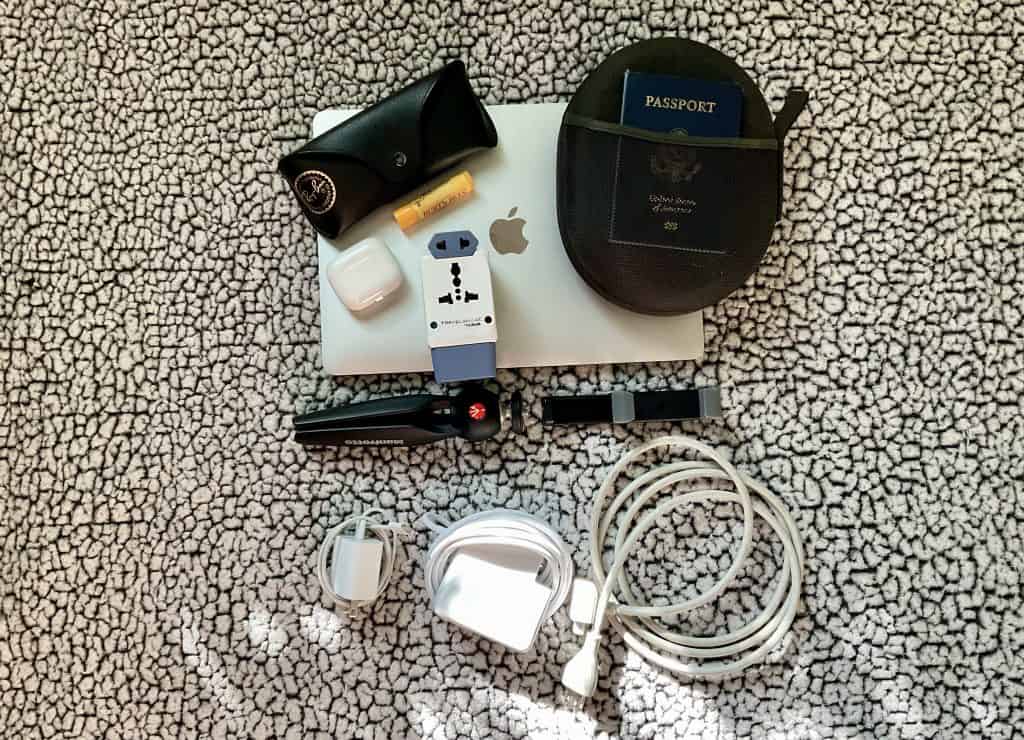
- Electronics: Manfrotto Pixi Mini tripod, smartphone mount, iPhone, Apple MagSafe charger, iPad Pro with Magic Keyboard, chargers, universal travel adapter and my Sony wh-1000xm4 noise cancelling headphones.
- Toiletries: I organize my toothbrush, deodorant, floss, Neosporin, Advil or ibuprofen, ear swabs, nail clippers, tweezers, a small comb, and travel-size perfume and lotion into my Patagonia toiletry bag.
- Miscellaneous: I sort any extra items like passports, VISAS, travel credit cards, money, and snacks into a separate group.
Sorting everything out in groups before packing, helps make the packing process a lot smoother. It also gives you a great visual of everything in front of you, giving you the opportunity to include something you may have missed or remove something you won’t need.
Use Packing Cubes
You didn’t think you’d just stuff everything into your backpack, did you? I used to do that until I discovered packing cubes, and they revolutionized my travel game.
Packing cubes are a game-changer for organization and for compressing your clothes, reducing the overall volume in your travel backpack.
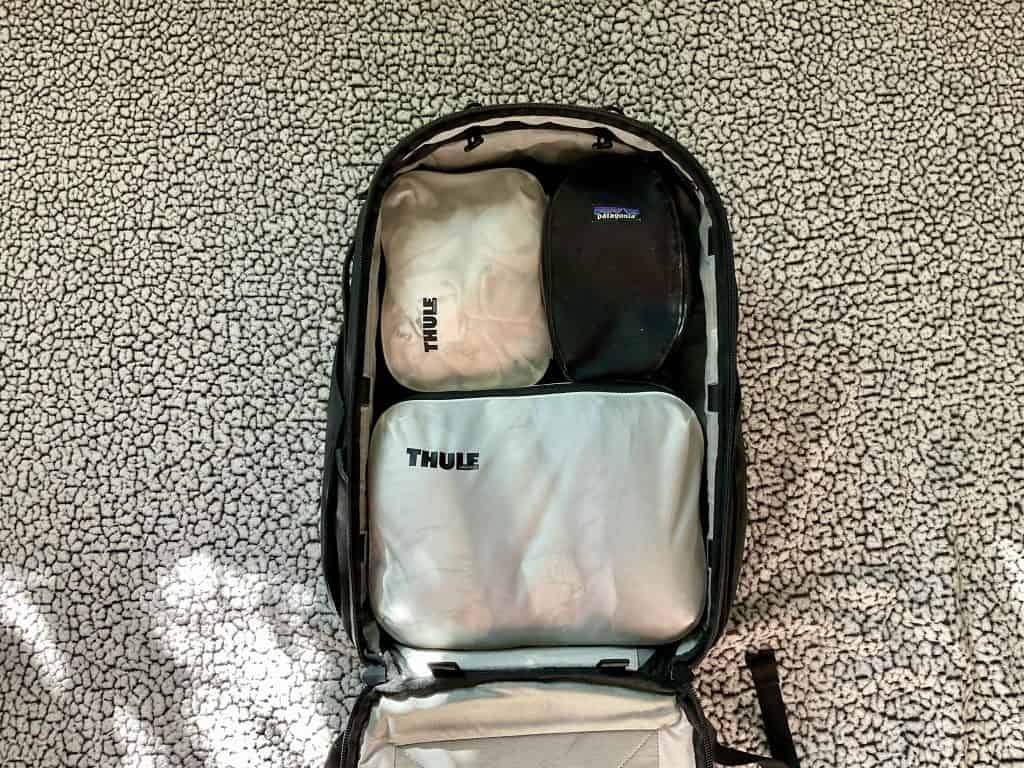
I use one cube for pants, shorts, and shirts, another for socks, underwear, and swimwear. Sometimes, I even throw in my Manfrotto Pixi Mini tripod or my toiletry bag.
So if you don’t already have packing cubes, grab some asap!
Packing Your Stuff: Rolling vs Folding
Unless you’re super OCD, rolling your clothes vs folding is a better packing technique. You’re going to save more space, have less wrinkles in your shirts, and you can pack more if needed.
It also keeps the uniformity in your cubes, making it easier for compression.
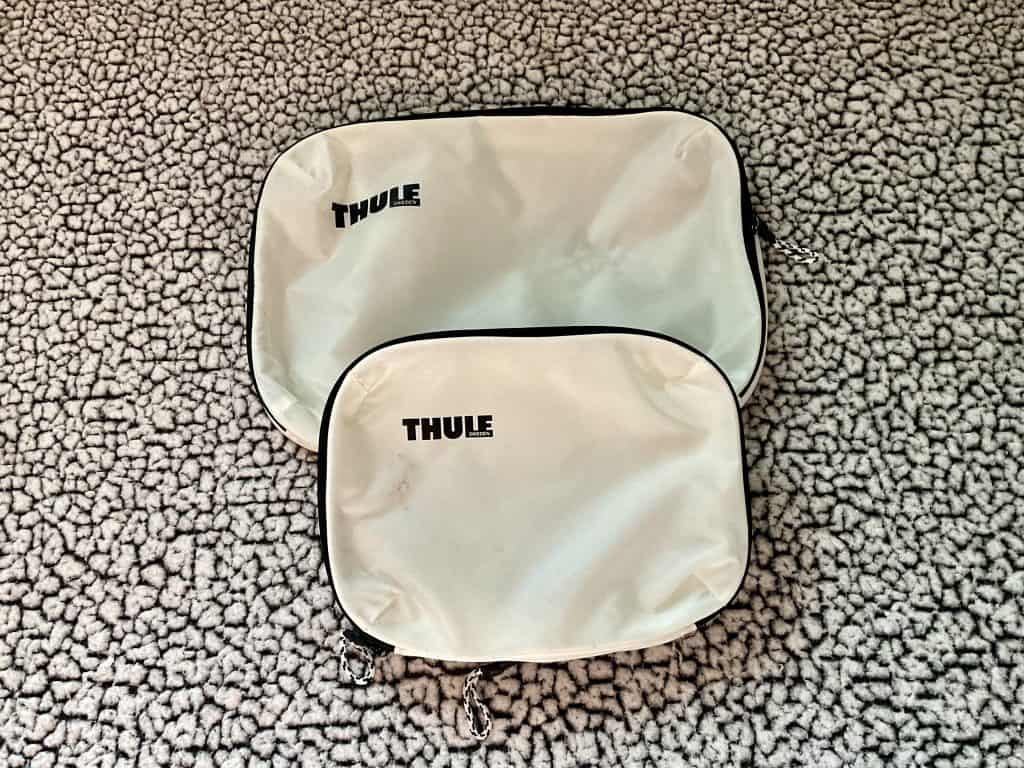
I have the Thule Compression Cubes and have been very pleased with them so far. They come as a set with a medium and small sized packing cube.
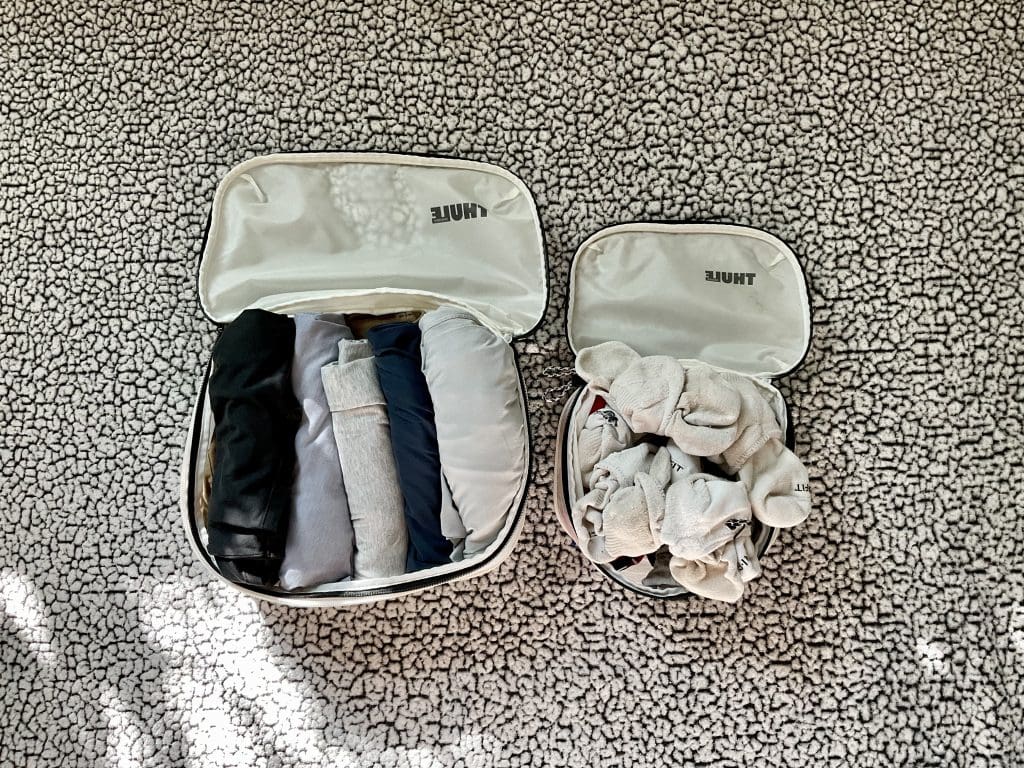
Here’s how to organize your clothes according to each packing cube size regardless of climate:
- Medium Packing Cube: Jackets, pants, shorts, and shirts.
- Small Packing Cube: Swimming trunks, underwear, socks.
For Spring and Summer trips, that’s all I take with me. I’ve learned not to overpack shoes—I only bring ones that are both comfortable and stylish enough to wear out at a club.
If you do want to pack an extra pair, use them to your advantage. Instead of keeping them separate from your small packing cube, stuff your underwear, socks, and belt inside the shoes, then place the shoes in the packing cube.
If you’re traveling during the winter, wear those heavier clothes on your flight and shed them once you’re onboard. It keeps your bag light and makes going through TSA and airport check-ins a breeze, potentially saving you from any extra costs or hassles.
Avoid Overpacking
Overpacking is the worst thing you can do—trust me on this. On my first solo trip, I picked up some awesome souvenirs I couldn’t wait to bring home.
But there was a problem—I had packed too much, and my bag was stuffed. If it weren’t for the strong zippers on my travel backpack, nothing would have stayed inside.
After lugging around souvenirs and buying more during two more weeks in India and Thailand, I rethought my packing strategy. Now, I only bring what I need, not what I think I need.
I avoid those “just in case” items that rarely get used. I look at each outfit as a 2-3 day set. With this mindset, two pairs of pants and three shirts can last 7-10 days. The only thing you shouldn’t skimp on is underwear and socks.
Plus, you can usually buy whatever you need abroad. So please, for the love of whatever God you believe in, don’t overpack. Pack as light as possible!
Electronics and Entertainment
Do you really need to bring your heavy laptop, or will a tablet do? I used to haul around my 15″ Macbook Pro because I thought I “needed” it! In reality, I was so busy enjoying my trip that I barely had time to use it.
If you’re living a digital nomad lifestyle, that’s a different story—you’ll need the proper equipment to do your job. But if you’re a travel blogger like me, an iPad Pro with a Magic Keyboard can handle everything.
It’s much lighter, doubles as an entertainment center, and can manage video editing and blogging without all that extra weight.
I also bring my Sony WH-1000XM4 noise-canceling headphones and my AirPods. Don’t forget a universal travel adapter and your domestic chargers to keep all your devices powered up.
If you’re a photographer, I can’t offer much advice on a travel setup. I find that most modern smartphones capture high-quality photos, so that’s what I use.
Miscellaneous Travel Gear
I like bringing a Hydro Flask stainless steel reusable water bottle. It’s perfect for refills at airports and saves you money since you won’t need to keep buying bottled water.

Bringing a small notebook and pen to journal your travel adventures is also great for capturing real-time memories.
A microfiber towel can be useful when staying in hostels. I used to bring one all the time, but I quickly realized they can start to stink up your bag if not washed between uses.
You can also bring some disinfectant wipes or hand sanitizer for the airplane and lip balm. Other than that, you’re good to go!
Pack for Accessibility
Have you ever seen someone digging through their luggage at the airport looking for that thing they need? Don’t be that person. The best way to avoid this is to pack so that your essentials are always within reach.
I usually pack based on three factors:
- Airport essentials: passport, travel credit cards, cash, charger.
- Airplane essentials: lip balm, disinfectant wipes, charger, headphones.
- Destination essentials: passport, travel docs, day 1 clothes accessible first.
Having everything within reach makes traveling so much easier. It helps you avoid digging like an airport groundhog, stressing out about where you placed what, and overall just makes traveling more enjoyable and efficient.
Last Minute Tips for Backpack Travelers
Now that you know how to pack your travel backpack like a pro, you still want to make your trip go as smoothly as possible and avoid unnecessary hiccups.
Consider Airline Carry-on Restrictions
I can’t remember the last time I had an issue with my travel backpack as a carry-on. However, there have been times when I’ve been asked to check my bag, even though it was technically a carry-on. Airlines do this to manage the weight on the flight, but sometimes you may get charged unexpectedly.
Some airlines, especially the cheaper ones, will ask you to check your bag and then charge you if it’s above a certain weight or size limit. In the United States, the maximum carry-on allowance is 22 in x 14 in x 9 in, including the wheels and handle, and can’t exceed 35 pounds.
Depending on the gate agent, they may or may not care if you only have a backpack. To avoid annoying weight or size charges from the airline, always check the airline’s size and weight requirements for carry-on luggage. Don’t say I didn’t warn you to pack light!
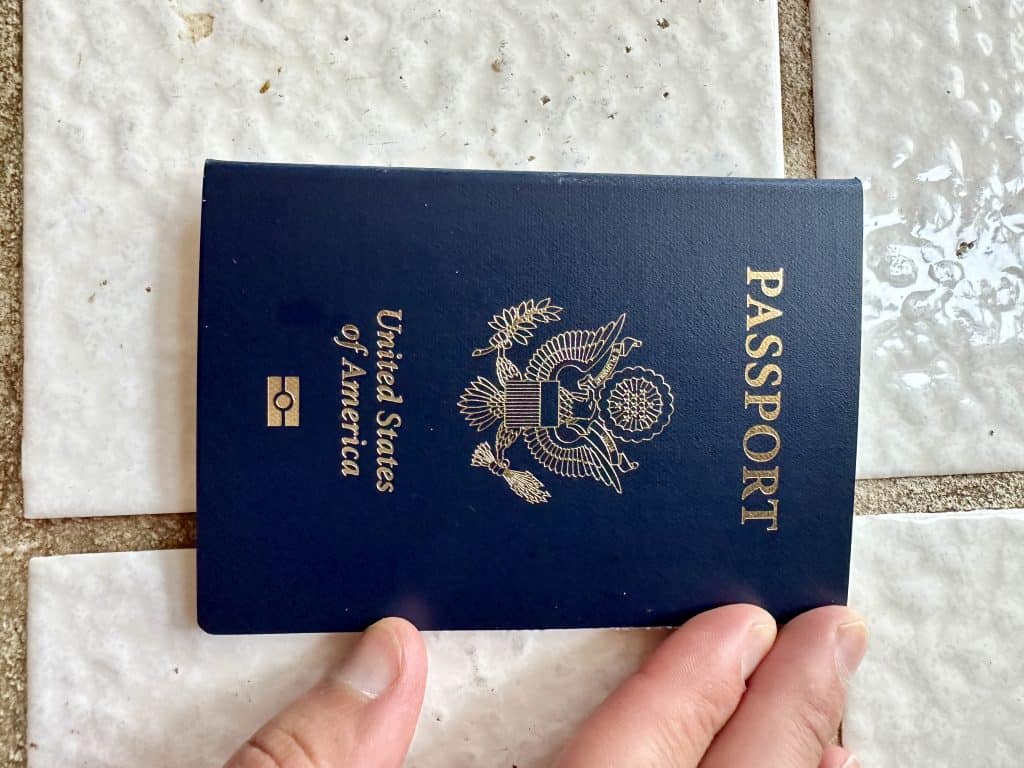
Keeping Your Travel Documents Safe
While I’ve never lost my passport or important visas, I’ve had my share of scares with misplacing things. Depending on the country you’re traveling to, you can usually go to the nearest U.S. consulate (or your country’s consulate) to replace a passport.
But the best solution is not to lose your documents in the first place. I’ve found this easier during the winter or fall. Since you’re wearing a jacket, you can keep your passport in the inside zipper pocket on the front of your person. The same goes for credit cards. And, of course, keep your visa with your passport, so you’re good to go.
During the summertime, this can be more challenging. I usually keep one credit card in my phone case and leave my passport at the hotel, hostel, or Airbnb I’m staying at, locking it in a safe or locker, or hiding it if those options aren’t available.
These documents and valuables are the oxygen of your trip. Without them, you can’t function. Also, make sure you have digital backups of these documents. Sync your travel credit cards and debit cards on your iPhone and Apple Watch with Apple Pay.
Keep your digital cards within your bank carrier’s apps if available. Snap photos of your passport (inside and out) and visas as digital backups and send them to your email account. This way, if you lose them, you always have backups.
Now that you have everything down, start packing, have fun, and enjoy your lightweight backpacking trip!
13 thoughts on “How to Pack a Travel Backpack Like a Pro”
Comments are closed.